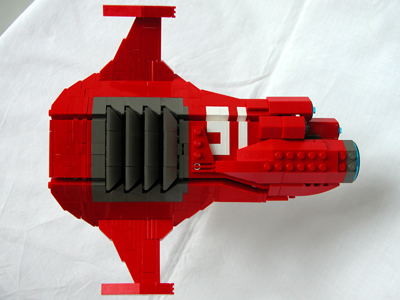
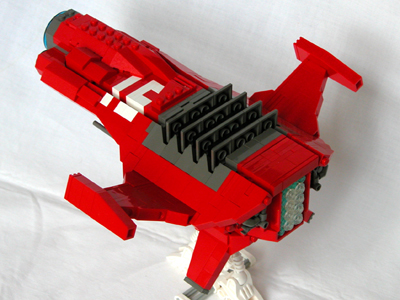
69 RedscoutBuild 27/8 2005-26/5 2006, Pieces 712, Step 198 |
Inspiration: The inspiration for this model came from the Group
MOC study 2 on CSF, started in the summer of 2005.
Originally I was very hesitant in joining first Group
MOC Study: - to a lesser degree because the piece
of concept art chosen didn't really strike a cord with me - and
primarily because I prefer to simply experiment with Lego pieces, and try
to press new uses and interesting forms out of them, rather than trying to
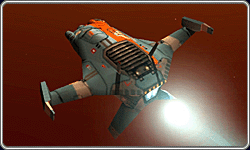
copy spaceship designs that isn't wasn't meant to be rendered in Lego. However, the concept art of the second Group MOC study was so neat, cool and even slightly asymmetrical, that I had to try, even though I knew that trying to render that sort of curviness in Lego was just asking for BIG trouble. And that was exactly what I got: |
|
The challenge: Let's talk a bit about why I decided to make the craft the way I did. First off, I knew that this was a fairly small scout craft in the computer game - I decided to make it as small as possible while still containing a pilot. Secondly, two of the really cool features of the craft was the big
grille on top and the organically curved upper part meeting the thin wings
continuing the surface of the curved lower part.
After pondering about it, and making few more models, I came up with an alternative approach: With the last model, the 64 Bubblecraft2, I had worked with a basic plate-build studless carapace set at a fixed angle across the length axis (beside the warping along the surfaces). What annoyed me about this craft was, that that was all it was: a long thin craft with a carapace - because of the curvature of the side "wings" it had simply been impossible to create two surfaces that would meet up properly.
If I used the same technique for the Group MOC Study however, I would
be able to make a corresponding belly carapace that would meet up properly
with the top - and try out the idea I had had about exploiting the thin
walls of those panels to smoothen things out. |
 Process: Process:
19/5 2005: 2nd Group MOC Study suggested by Sethwin in this thread 20/5 2005: I notice the thread and consider joining, and derails the thread for a while 25/5 2005: Sethwin posts a micro version of the craft 27/8 2005: After finishing 3 models (62 Nocturnal Escape Pod, 63
Bubblecraft, 64 Bubblecraft2) and, of course, figuring out a general solution
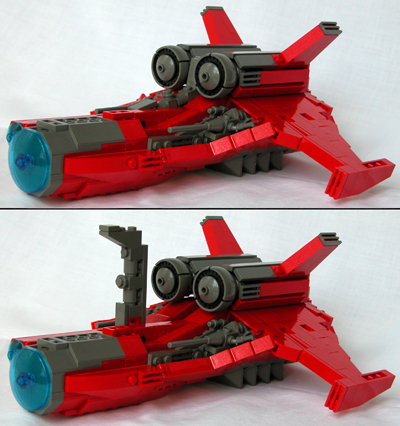
to how I could render this particular shape in Lego, I started on it: On this first day, I create the first version of the craft's body (upper carapace, darkgrey grille, upper wings/belly sections) and cockpit (A version) as point of reference (everything is scaled to fit this).
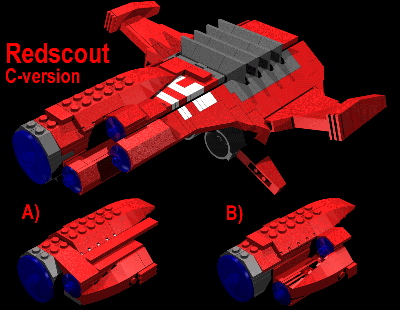
28/8 2005: Updates to interior structure (tying wings and grille together) 29/8 2005: Update to top, first version of the rear finished (basic sloped) 7/9 2005: Work on belly, new version of the nose (B) 16/9 2005: New version of the nose (C)
21/9 2005: I present the current status on this page to get feedback about which of the three versions of nose is best. In the end I decide to keep the most advanced C-version. 22/9 2005: Nose polished up and finished
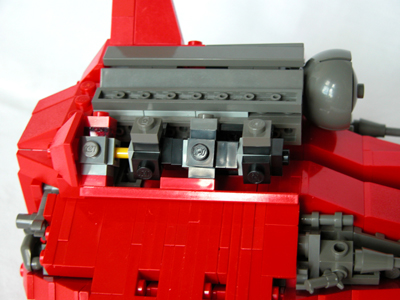
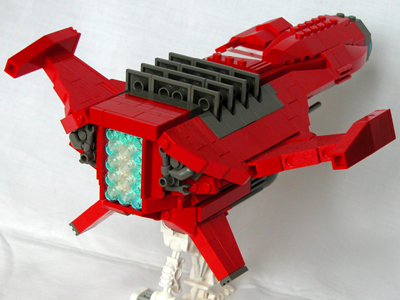
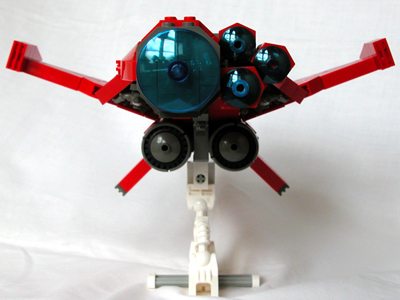
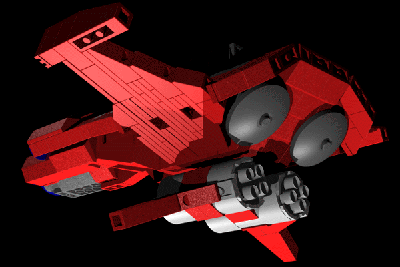
The development of the nose was a really difficult task, and when I'd settled for the final version, the main features of the craft was basically established. After this, I had to flesh out the interiour and get everything to stick together. This was pretty difficult, and my motivation suffered a great deal because I got increasingly unsatisfied with the engine and details around the back - the look I'd achieved were simply too basic, and didn't look at all like the original: Here, the tubes seen from the front was only intakes, while the engine thrust exited considerably higher up, well centered in the rear.
5/10 2005: New engine started 15/12 2005: Another stud reversion created in the rear to prepare for more smooth look, and hopefully an engine placed considerably higher up However at this point I got completely stuck, completely unable to figure out any way to build the new octagonal based engine together with a thruster protruding from the body - so stuck that I seriously considered to return to the old shoddy version of engine. It probably didn't help that I packed away all my Lego for several months of the new year ;-)
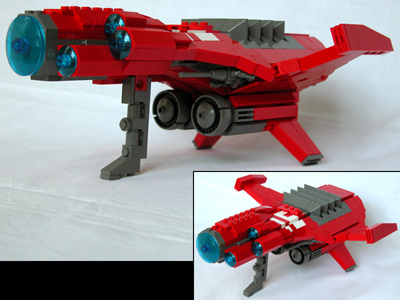
23/5 2006 After unpacking my Lego and amassing courage to face the Redscout beast again, the simplest solution dawned on me: by simply reversing the rear 1x1 brick with 5 studs, everything lined up perfectly, and the engine was finished in no time. 26/5 2006 Adding greeble and landing gear, polished and finished - pwned!! |
This is by far the most complex and difficult model I've ever made, and, luckily, also one of the best. It was presented in this thread on CSF. As far as I'm aware, none of the other participants in the Group MOC Study 2 has actually finished the craft, except for Sethwin's microscale version, but here are some links to WIP's I could find: Sethwin
(big version) A week after I posted mine Damien Labrousse posted a finished bigger version: it sorta looks like a crossing between Samarth (size, layout) and mine (angling techniques of the sides, eyes, and connection between wings and top) - but I'm not sure that he was even aware of the group moc study, as he doesn't appear to be a member of neither Lugnet or CSF, although he may have spottet some early WIP-shots of both on Brickshelf If you've made something and got pictures of it somewhere on the net, please drop me a line and a link, so I can add you to the list. |
The model was presented in this thread on CSF, and later together with the 70 Space Countach in these threads at Lugnet and Byggepladen |
|
|
|
|
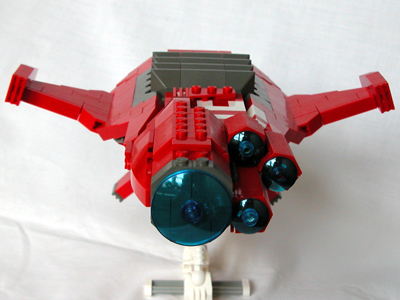
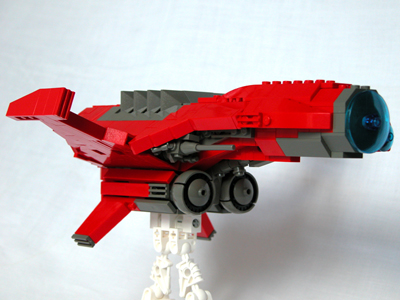

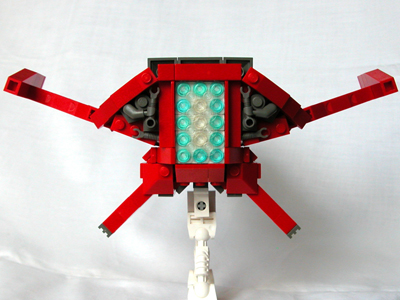
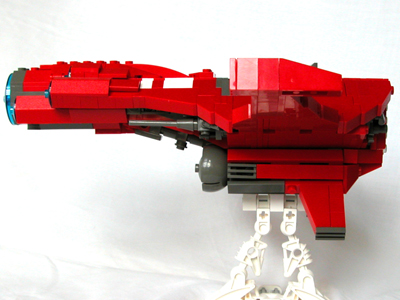
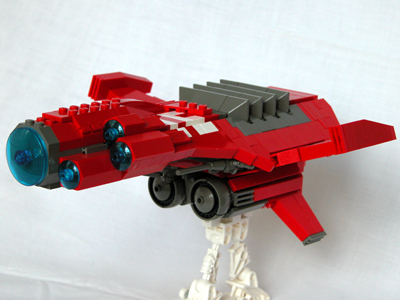
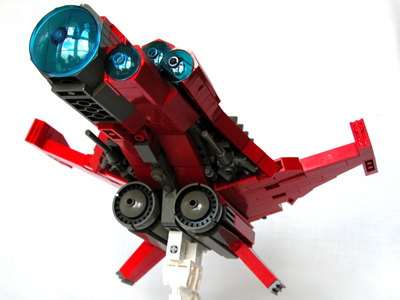
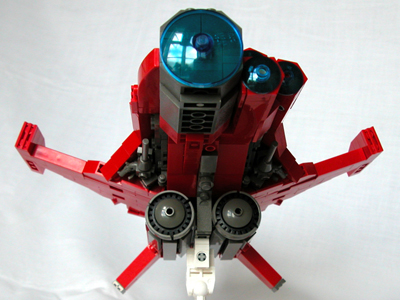


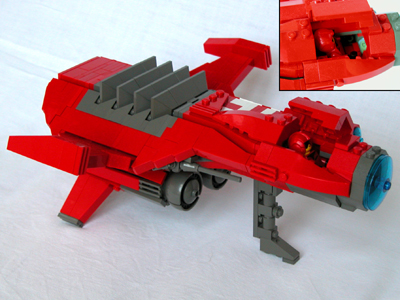
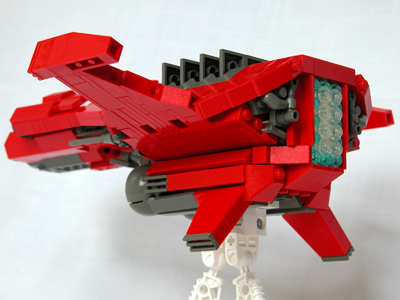
 On
the original version, the curving of the top creates a nice little narrow
space for the exhaust.
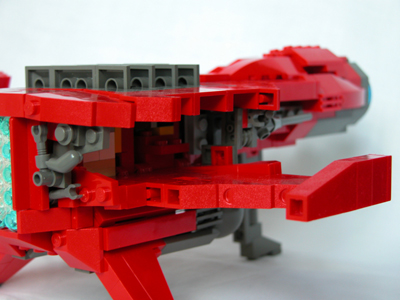
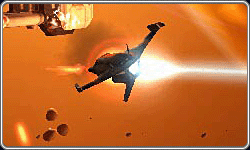 Because
I'd chosen not to curve the craft along the length, my version was just
going straight back, leaving a huge rear area, with a considerable
distance between the intakes on the belly and the top that would be really
hard to bridge.